
ESP32 + humidity sensor using ESPHome
In the process of making my home a little bit smarter, i recently read about the ESP32 + DHT22 humidity sensor using the firmware from ESPHome that can be used inside Home Assistant, and wanted to try it out.


In the process of making my home a little bit smarter, i recently read about the ESP32 + DHT22 humidity sensor using the firmware from ESPHome that can be used inside Home Assistant, and wanted to try it out.
The hardware setup was pretty easy:
- ESP32 - I used the ESP32 from diymore
- DHT22 humidity sensor - I used one from AZDelivery
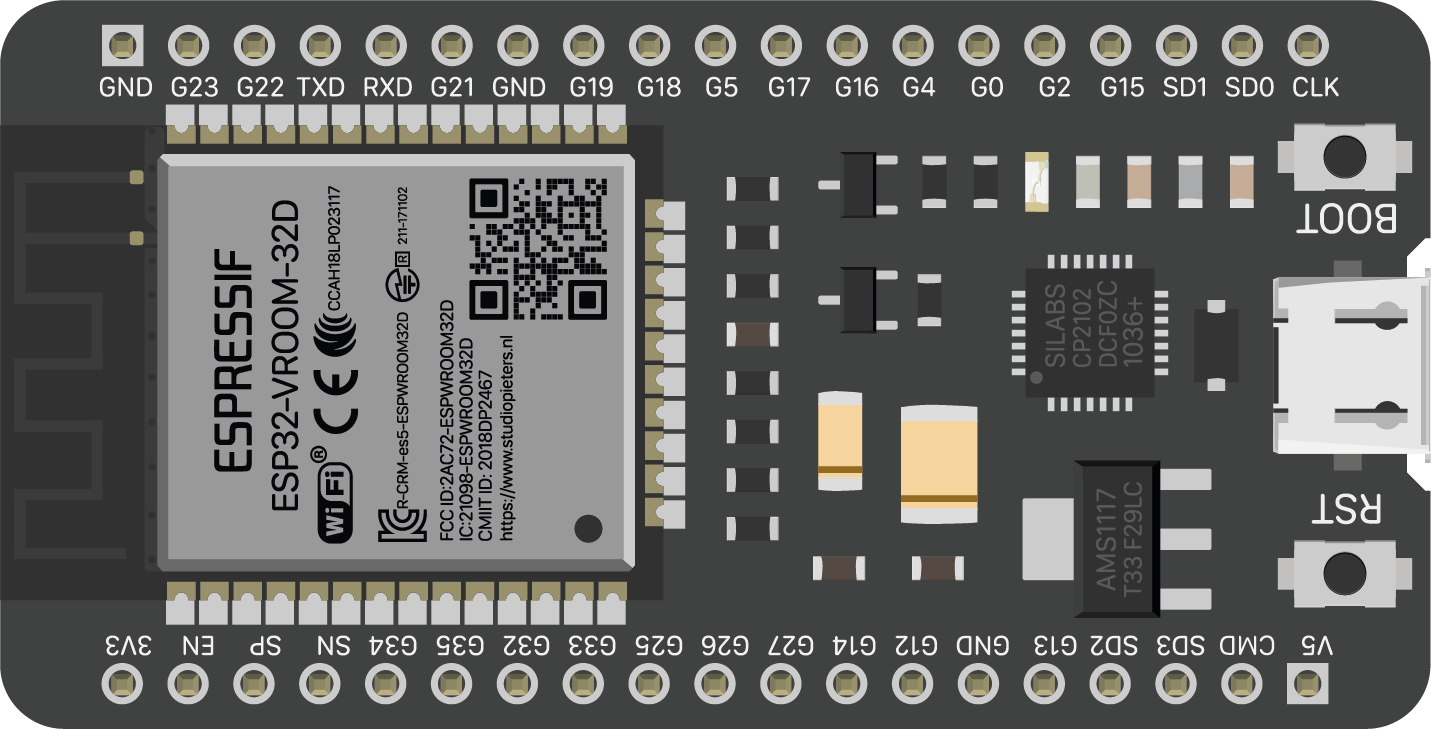
ESP32
The ESP32 is a low-cost, high-performance microcontroller that integrates Wi-Fi and dual-core processor operation. The ESP32 supports the Arduino Uno/Duemilanove pinout, as well as the more advanced pinout for Arduino Yun.
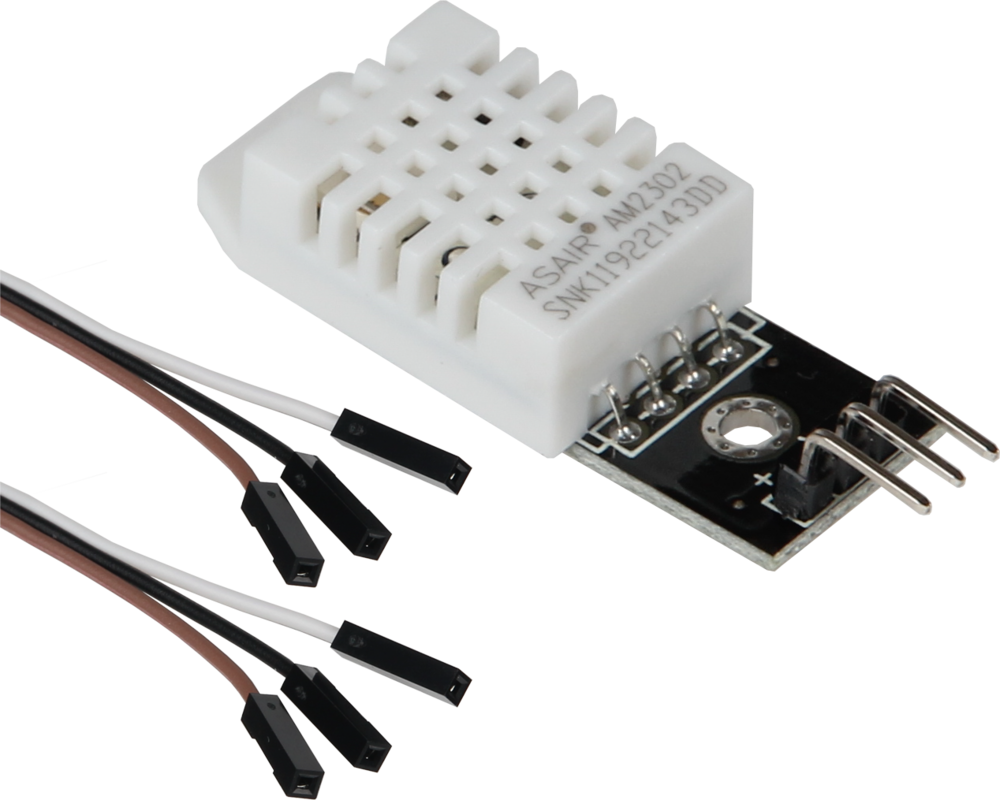
DHT22
The DHT22 is a 1-wire temperature and humidity sensor that measures temperature and relative humidity. The DHT22 can be used as a standalone sensor or combined with other sensors to form an HVAC system.
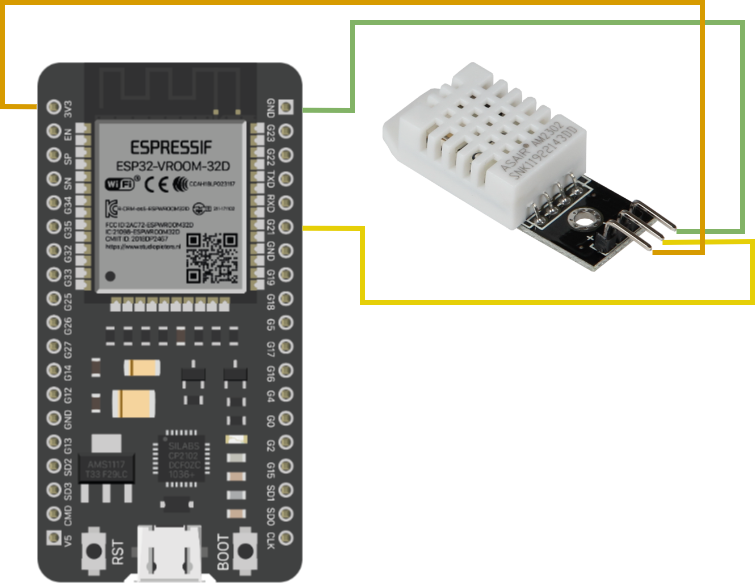
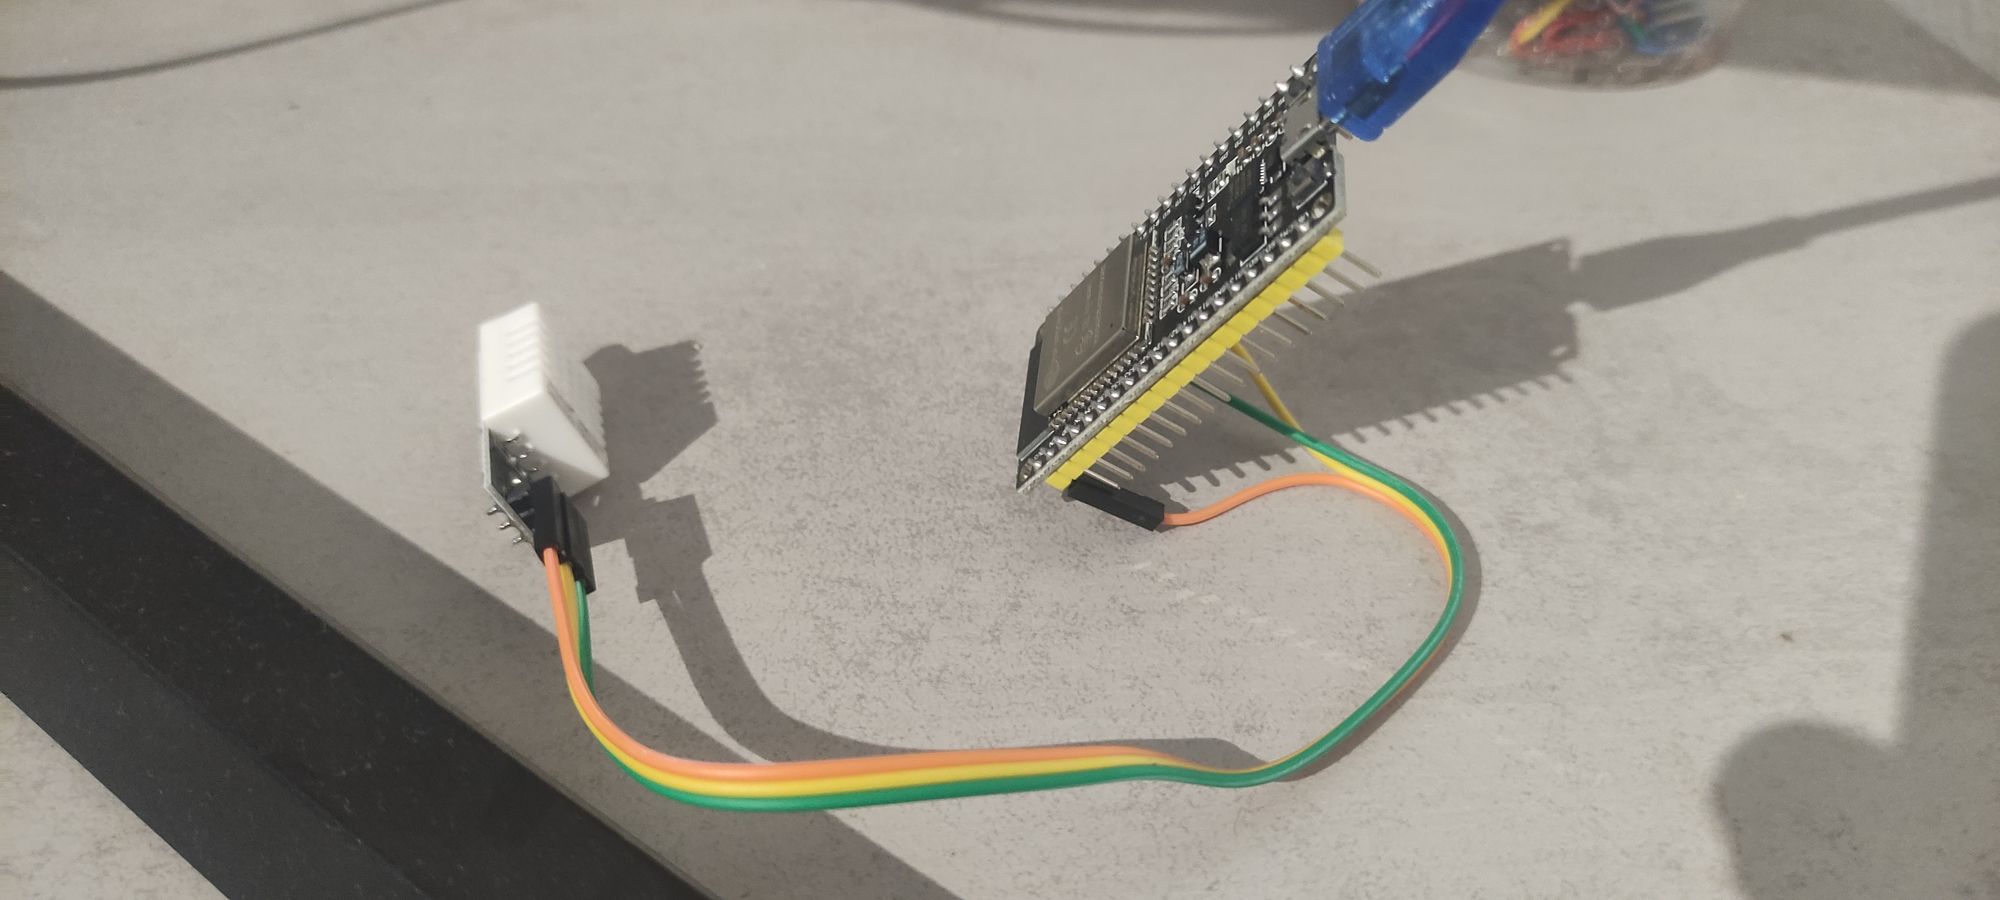
The circuit/The build
ESPHome
ESPHome is a home automation platform that supports the ESP32. It’s a nice way to build a simple controller for your home without having to learn Arduino and other programming languages.
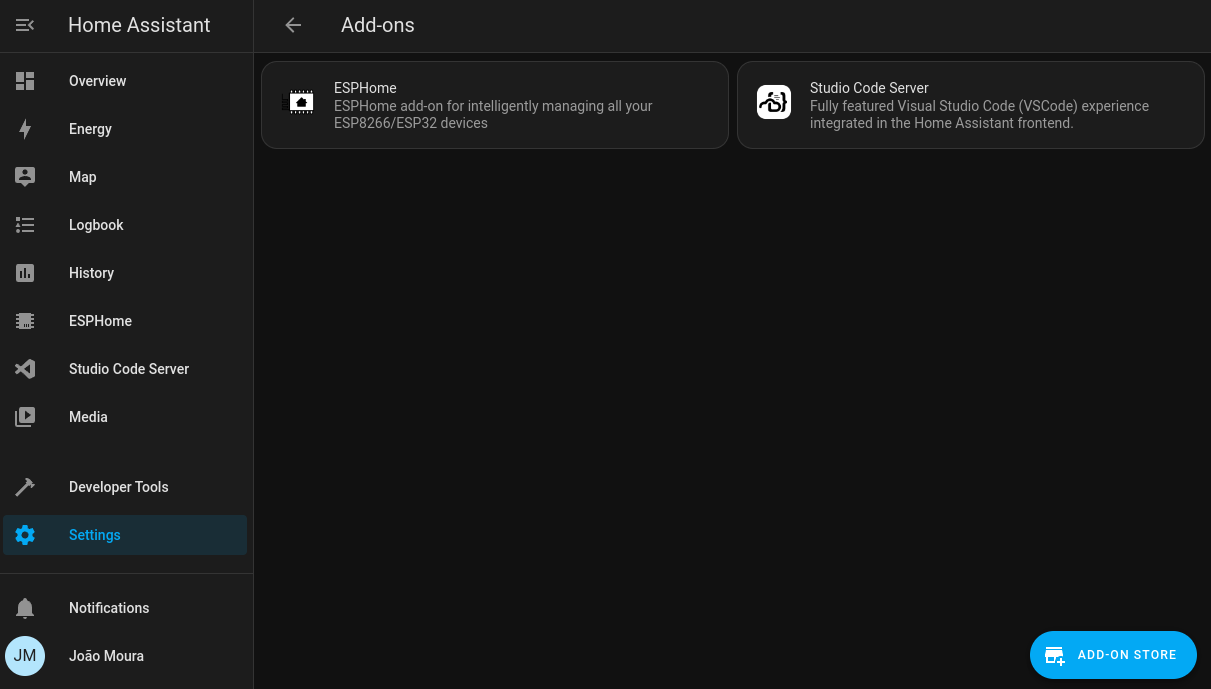
It comes has an addon inside Home Assistant, so it's as simple has just installing it from the addon store.
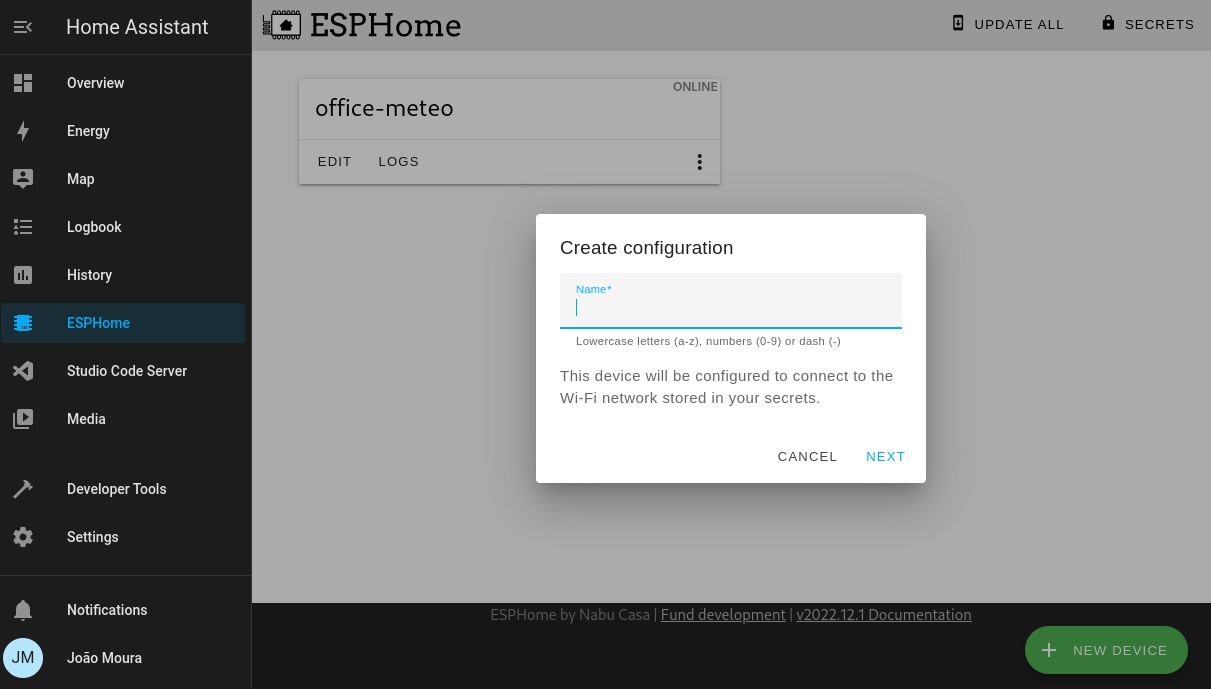
When you first open ESPHome it will ask you for your wireless network information, this is because it will later use this connection to update any running node without the need to connect the device through a USB cable.
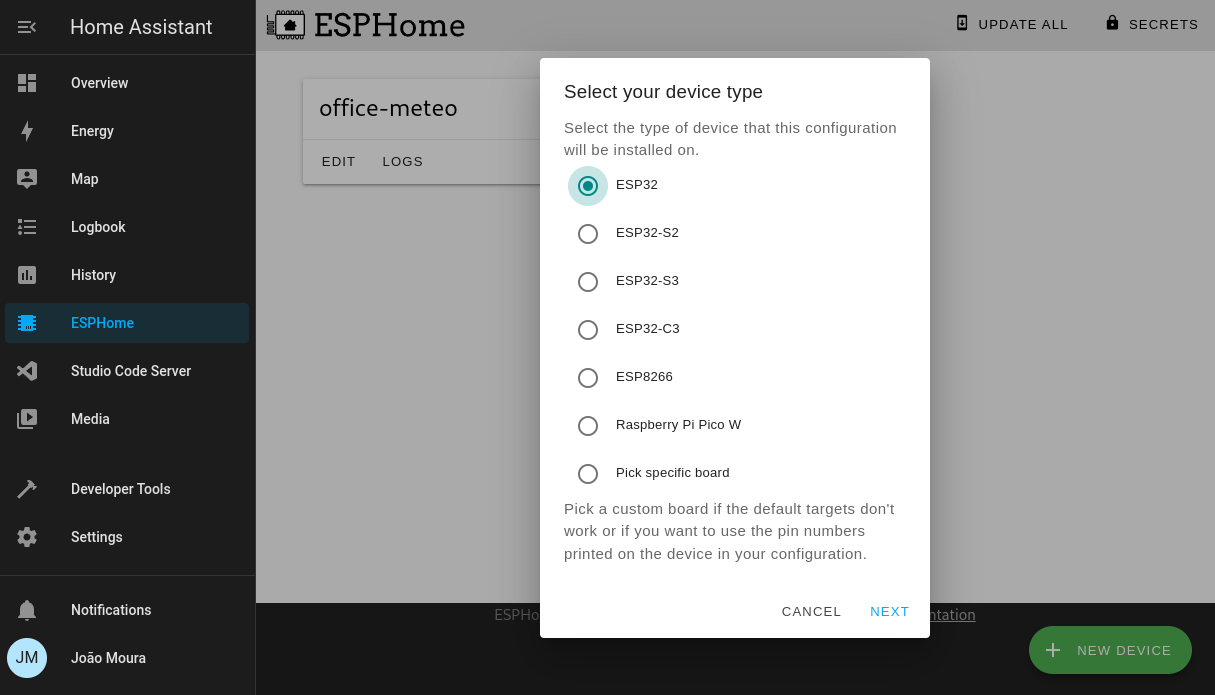
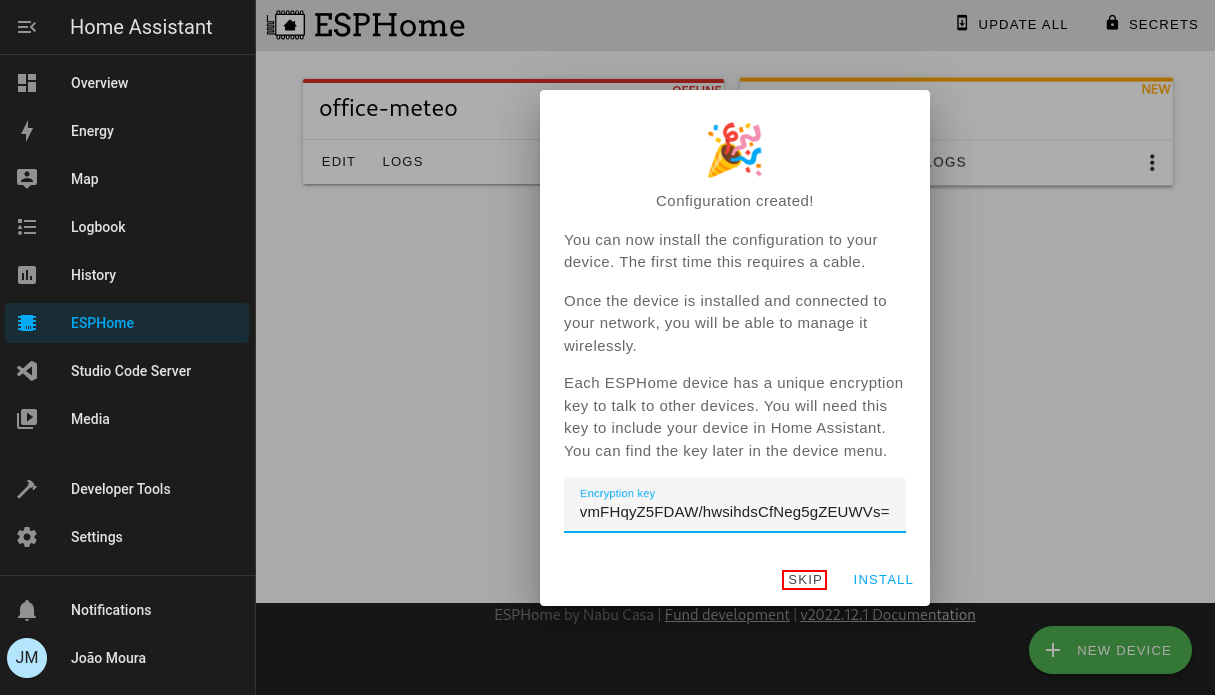
Next step is to create a new device inside ESPHome, give the device a Name then pick ESP32 and click SKIP because we will change the configuration first.
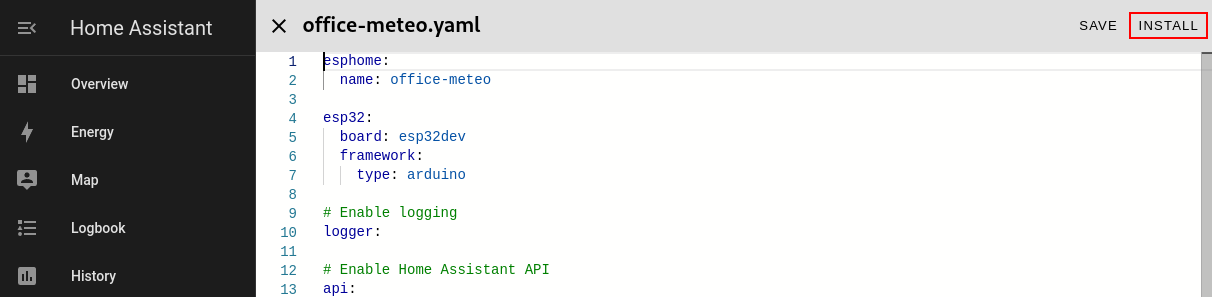
The ESP32 YAML configuration
esphome:
name: office-meteo
esp32:
board: esp32dev
framework:
type: arduino
# Enable logging
logger:
# Enable Home Assistant API
api:
encryption:
key: "generated by esphome"
ota:
password: "generated by esphome"
wifi:
ssid: !secret wifi_ssid
password: !secret wifi_password
# Enable fallback hotspot (captive portal) in case wifi connection fails
ap:
ssid: "Office-Meteo Fallback Hotspot"
password: "generated by esphome"
captive_portal:
sensor:
- platform: dht
pin: 21
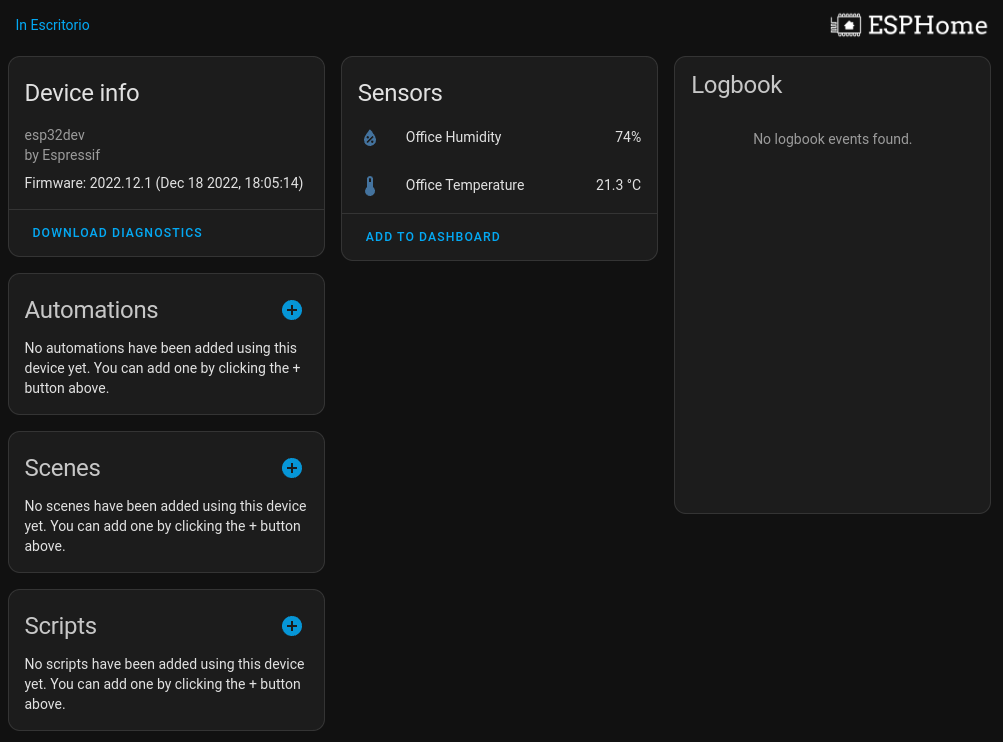
temperature:
name: "Office Temperature"
humidity:
name: "Office Humidity"
update_interval: 60s
The configuration is very simple and we need to focus on the sensor section:
sensor:
  - platform: dht
    pin: 21
    temperature:
      name: "Office Temperature"
    humidity:
      name: "Office Humidity"
    update_interval: 60s
In here we are specifying that we will use the pin 21 on our board (this is the pin connected to DHT22 data) and that we would like ESPHome to read the temperature and humidity from that pin.
Time to flash the ESP32
Now that the configuration is done, we need to flash the ESP32 board with our ESPHome firmware, in order to do that, connect the device to the computer using a USB cable.
In ESPHome dashboard, click EDIT then INSTALL.

I've had several issues installing the firmware through the ESPHome web application, because of that we will be using the ESPHome flasher. This will only be used for the first installation because after this we can use the Wireless update.
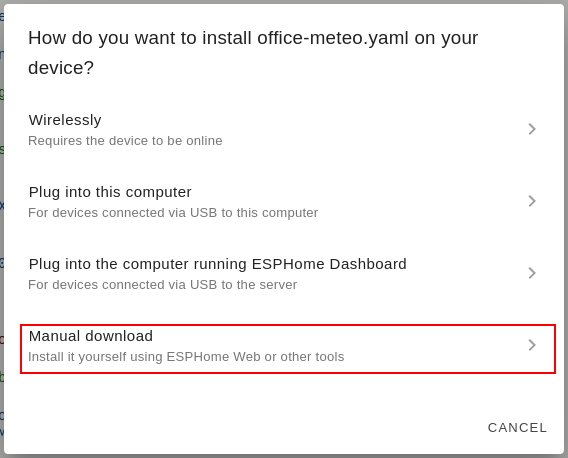
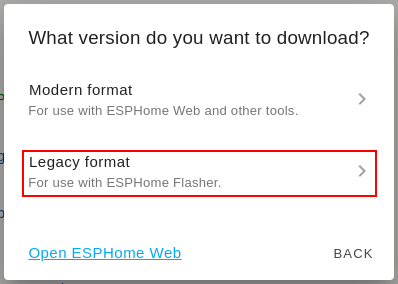
In the next popup choose Manual download and then Legacy format.
Wait for it to end and save the .bin file that results from the compilation process.
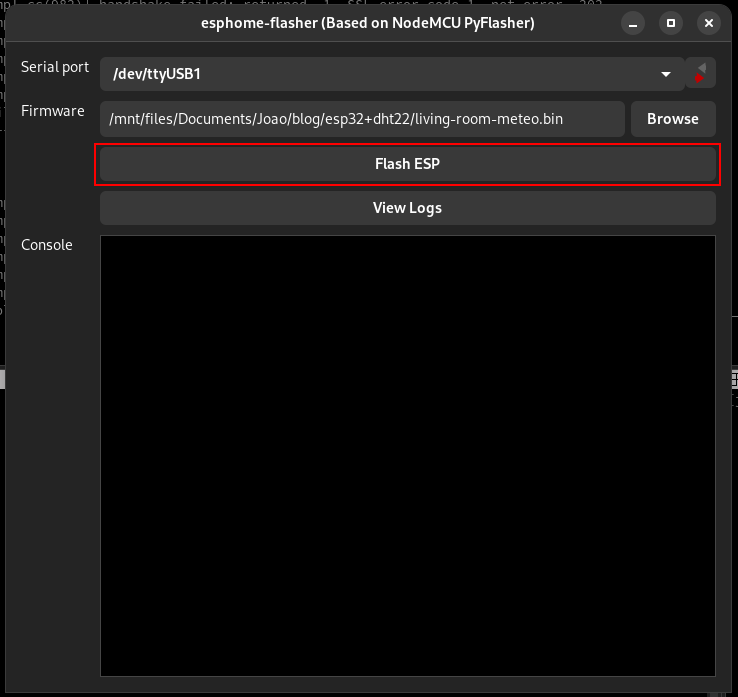
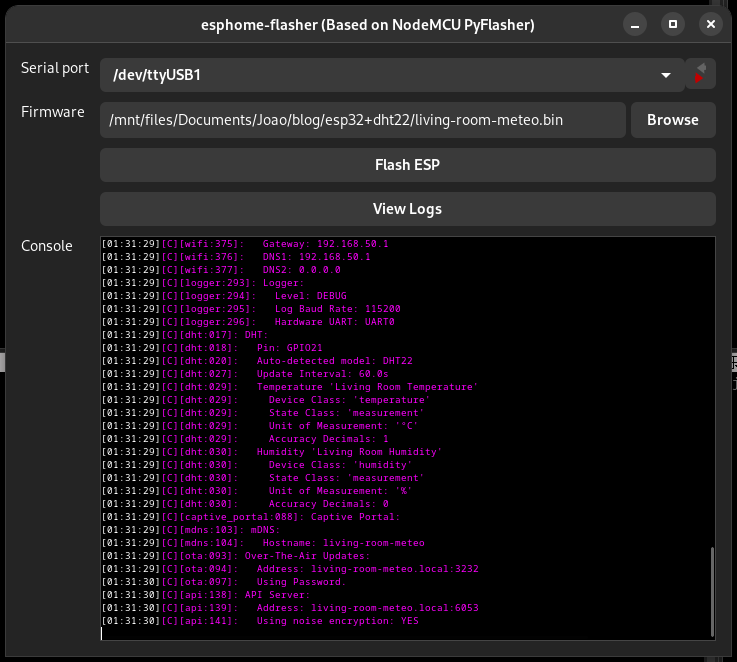
Next, download the ESPHome flasher from here and run the application.
Select the correct serial port that matches the USB port where you connected the device, choose the newly created bin file and click Flash ESP.
Once it finishes, you can just close the application.
Home Assistant
Now we need to add the new device we just setup using ESPHome inside Home Assistant.
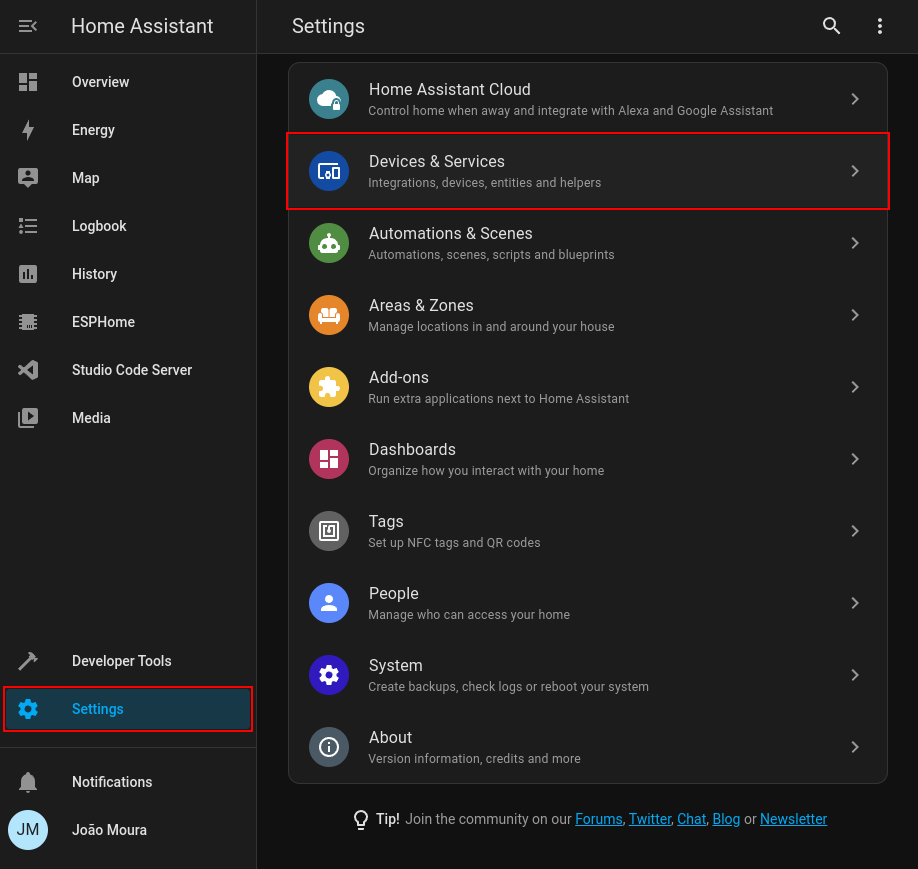
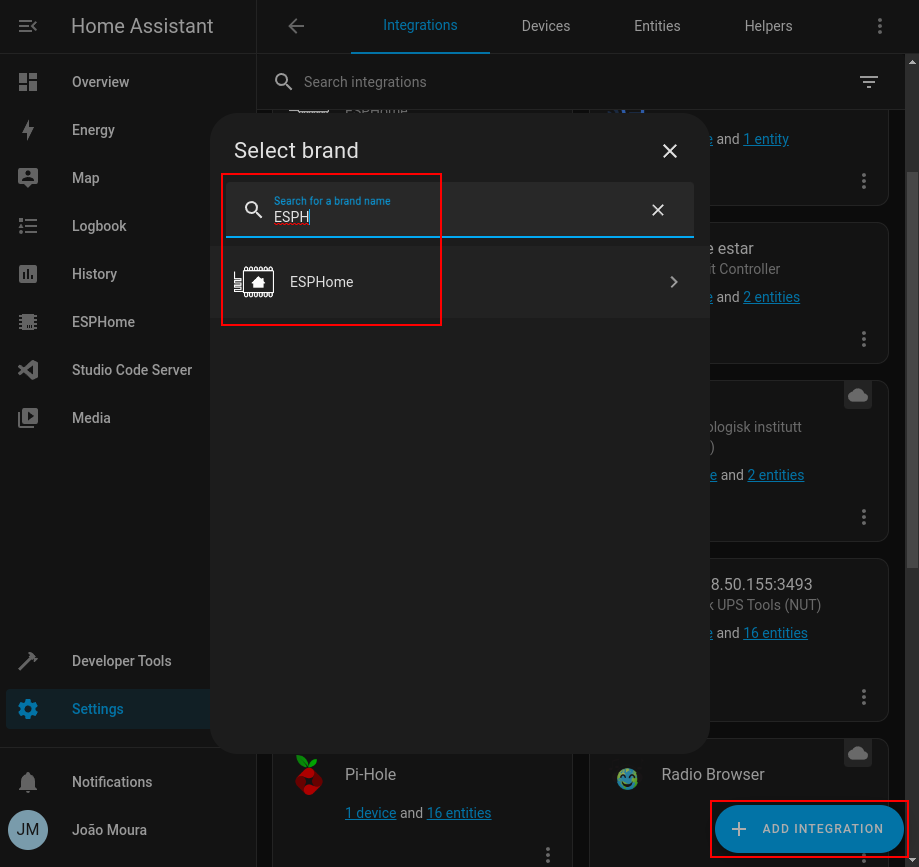
Probably Home Assistant has already discovered the new device on the network, but if that hasn't happened then jump into Settings->Devices & Services clink in + Add Integration and search for ESPHome.
In order to find the IP address of your new device, you can go to your router and look on the connected devices, or you can go to ESPHome, click LOGS for the desired device and you should see the IP Address in the logs.

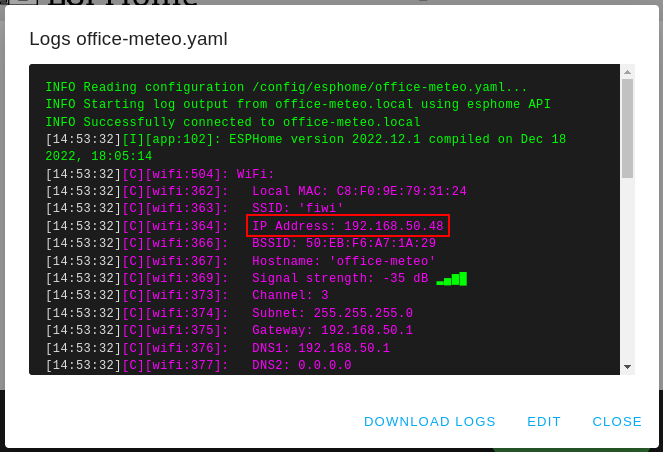
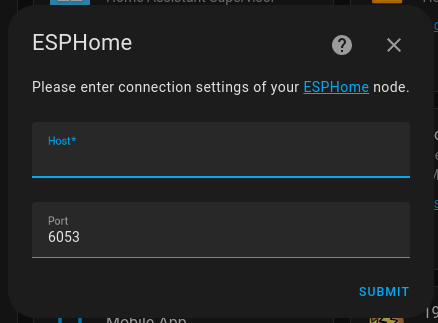
Has you can see, the IP Address inside my internal network for the new device is 192.168.50.48, so let's use it on the previous integration.
The integration will now ask you for an Encryption key and you can get this from ESPHome.
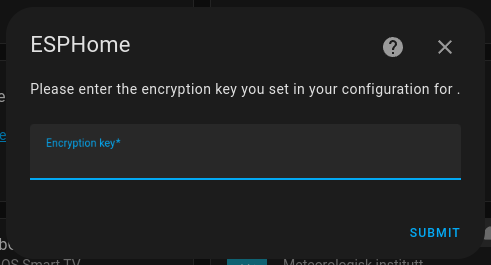
Go back to ESPHome and on the new device click the ⋮ (more options icon) and click Show API Key.

Copy the value, insert it on the previous dialog and you should be ready to start using the new device and get readings out of it.
My next step will be to create a box to hold everything together and add some type of portable power supply so i can measure the battery level and have a somewhat drop and forget device.